

Table of contents


No headings in the article.
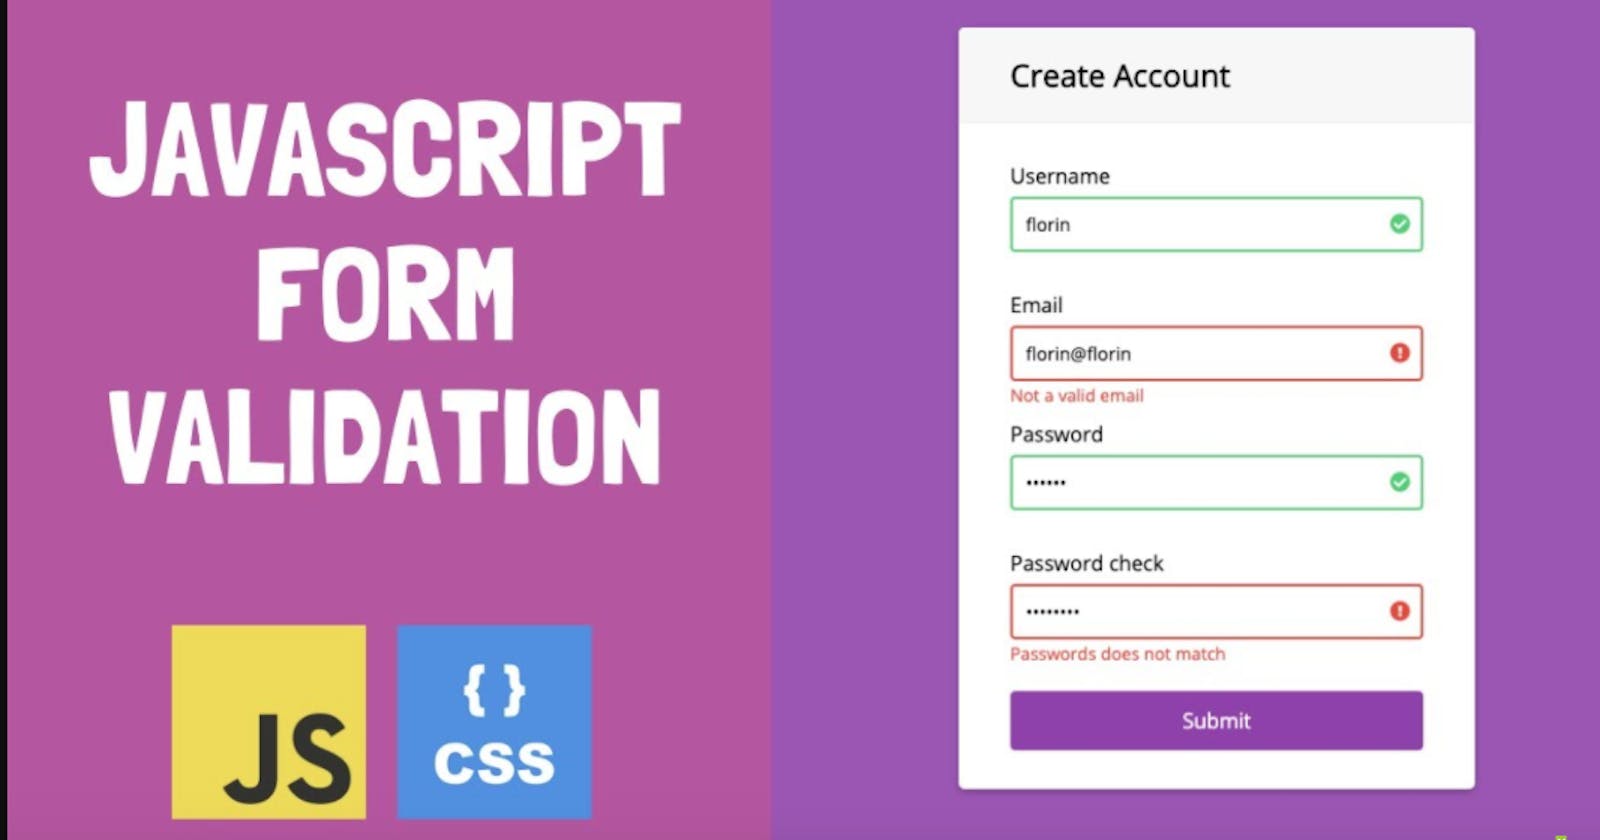
Today you are going to learn how to do form validation in javaScript. you'll also learn how to add media queries to build out the entire project and keep it as a portfolio.
Project Setup: How to set up your project
Just follow the following steps to setup your project:
Create a new folder named "project" and open your code editor (e.g: visual studio code)
create index.html, style.css, and index.js
link the files inside the HTML
Let's get started
Here is what the project will cover:
Writting HTML
Adding the Css
Adding Media Queries for responsiveness
- HTML Part
Create a class .container inside the body tag and include the form tag which will have an id of #form
<div class="container">
    <form id="form"></form>
</div>
next, create 3 div's inside the form tag like this:
<form id="form">
   <div></div>
   <div></div>
   <div></div>
</form>
then, inside those 3 div's, create 3 inputs(Username, Email, and Password) along with icons and labels.
ps: Remember, you'll need to create an .error class name. this is going to be useful to display an error message using javaScript
Username Input
<!-- username input -->
<div>
   <label for="username"> User name </label>
   <i class="fas fa-user"></i>
   <input type="text" name="username" id="username" placeholder="Kebean"/>
   <i class="fas fa-exclamation-circle failure-icon"></i>
   <i class="fas fa-check-circle success-icon"></i>
   <div class="error"></div>
</div>
Email Input
<!-- Email Input -->

<div>
   <label for="email">Email</label>
   <i class="fa fa-envelope"></i>
   <input type="email" name="email" id="email" placeholder="kebean@gmail.com"/>
   <i class="fas fa-exclamation-circle failure-icon"></i>
   <i class="far fa-check-circle success-icon"></i>
   <div class="error"></div>
</div>
Password Input
<!-- Password Input -->

<div>
   <label for="password"> Password </label>
   <i class="fas fa-lock"></i>
   <input type="password" name="password" id="password" placeholder="Enter the password here"/>
   <i class="fas fa-exclamation-circle failure-icon"></i>
   <i class="far fa-check-circle success-icon"></i>
   <div class="error"></div>
</div>
Add Submit Button
Add this button before the form closing tag like this:
<form>
    <!previously written code here -->
   <button id="submit" type="submit">Submit</button>
</form>
Congrats!! you've completed the HTML part.
2.CSS Part
Here, you're going to add CSS to style the form. First, let's remove the default browser styles by doing the following:
/** changing default styles of the browser **/

* {
    margin: 0;
    padding: 0;
    box-sizing: border-box;
  }

  body {
    font-family: sans-serif;
  }
Here, you'll need to change container and text styles like this:
.container {
    display: flex;
    flex-direction: row;
  }
 .text {
    text-align: center;
    color: #fff;
    font-size: 18px;
  }
Now, apply these styles for the form tag:
form {
    display: flex;
    flex-direction: column;
    justify-content: center;
    width: 45%;
    box-shadow: 2px 2px 3px rgb(0, 4, 255);
    padding: 50px;
  }
Next, apply these for changing the title text:
.title {
    font-size: 25px;
    font-weight: bold;
    margin-bottom: 20px;
  }
Now, add a margin to the bottom of your label text like this:
label {
    display: block;
    margin-bottom: 5px;
  }
And to change the appearance of the input tag, add these styles:
form div input{
    width:100%;
    height:40px;
    border-radius:8px;
    outline:none;
    border:2px solid rgb(0, 4, 255);
    padding:0 30px;
    box-shadow:2px 2px 4px rgb(0, 4, 255);
}
To change color changing effects, add these styles:
form div {
    position: relative;
    margin-bottom: 15px;
  }

input:focus {
    border: 2px solid rgb(0, 4, 255);
  }
Styling the icons
Now, you'll need to style the icons imported from font-awesome icons. Do it like this:
form div i {
    position: absolute;
    padding: 10px;
  }
next, you'll need also to style the error class, alongside the success and failure icons . you can do that like this:
.failure-icon,
.error {
    color:red;
}

.success-icon{
    color:green;
}

.error {
    font-size: 14.5px;
    margin-top: 5px;
}
Oops!! the failure and success icons are now overlapping each other. But don't worry, with javaScript, I'll show you how you can manipulate that and solve the issue. For now, all you need to do is to hide them like this:
.success-icon,
 .failure-icon {
    right: 0;
    opacity: 0;
  }
Next, you're now going to style the submit button like this:
button{
    margin-top:15px;
    width:100%;
    height:45px;
    background-color:rgb(0, 4, 255);
    border:2px solid rgb(0, 4, 255);
    border-radius:8px;
    color:#fff;
    font-size:20px;
    cursor:pointer;
    box-shadow: 2px 2px 4px rgb(0, 4, 255);
    transition:all .1s ease;

}
For making the form more robust, you can add a hover effect when the user hovers over the button like this:
button:hover{
    opacity:0.8;
}
Congrats once again!! you've completed the CSS part. Now the project is 75% done. All you need right now is to add javaScript to make the form dynamic and manipulate those failure and success icons issues. you can freely take a short break and come back later.
3.javaScript part
How to add javaScript?? well!. First, you need to select all the id's and classes's from the HTML and embend them in javaScript just by doing this:
let classes = (classes)=> document.getElementsByClassName(classes);
let id = (id)=> document.getElementById(id);
then, store the classes and id inside these variables:
let username = id("username");
let email = id("email");
let password = id("password");
let form = id("form");
let errorMsg = classes("error");
let successIcon = classes("success-icon");
let failureIcon = classes("failure-icon");
next, you'll target the form and the submit event listener
form.addEventListener("submit", (e) => {
    e.preventDefault();
});
Now, you need to create a function called main that will do all the form validation activities. you'll do it like this:
let main = (id,sequential, message)=>{

    if(id.value.trim() === ""){

    errorMsg[sequential].innerHTML = message;

}else{

    errorMsg[sequential].innerHTML = "";

}

}
And for the icons , add this code like this:
let main = (id, sequential, message)=>{
    if(id.value.trim() === "") {
    errorMsg[sequential].innerHTML = message;
    id.style.border = "1.5px solid red"

    successIcon[sequential].style.opacity = "0";
    failureIcon[sequential].style.opacity = "1"
}
   else{
    errorMsg[sequential].innerHTML = "";
    id.style.border = "1.5px solid green";

    successIcon[sequential].style.opacity = "1";
    failureIcon[sequential].style.opacity = "0"
}
}
So far so good!! Now, you need to implent the newly created functions inside the place where you added the submit event listener like this:
form.addEventListener("submit", (e) => {
    e.preventDefault();

    main(username, 0, "username can not be empty");
    main(email, 1,"Email can not be empty");
    main(password, 2, "password can't be empty");
})
what happening there above? Above, you're passing id names, sequential of your class names, and message which should be shown when the error appeared from the user when he/she submit the form.
4.Media Queries for Responsiveness
You'll be happy if the form is responsive to all media screen sizes(telephone, tablet, and desktop). To do so, you have to add media queries.
for screens with a width from 900px, you will add these styles:
@media (max-width: 900px){
    .container {
       flex-direction:column;
   }
    .btn {
       flex-direction:column;
   }
     form {
       width:100%
   }
}
for screens with a width from 425px, you will add these styles:
@media (msx-width: 425px){
     form{
      padding:20px;
    }
}
Conclusion
Congrats!!! Now you can use javaScript to handle form validation. Not only that, but also you have a cool project to add to your portfolio and be able to show to recruiters. Thanks for reading through this article.Happy coding!!